







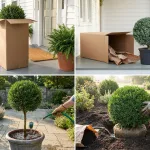

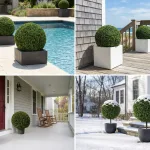

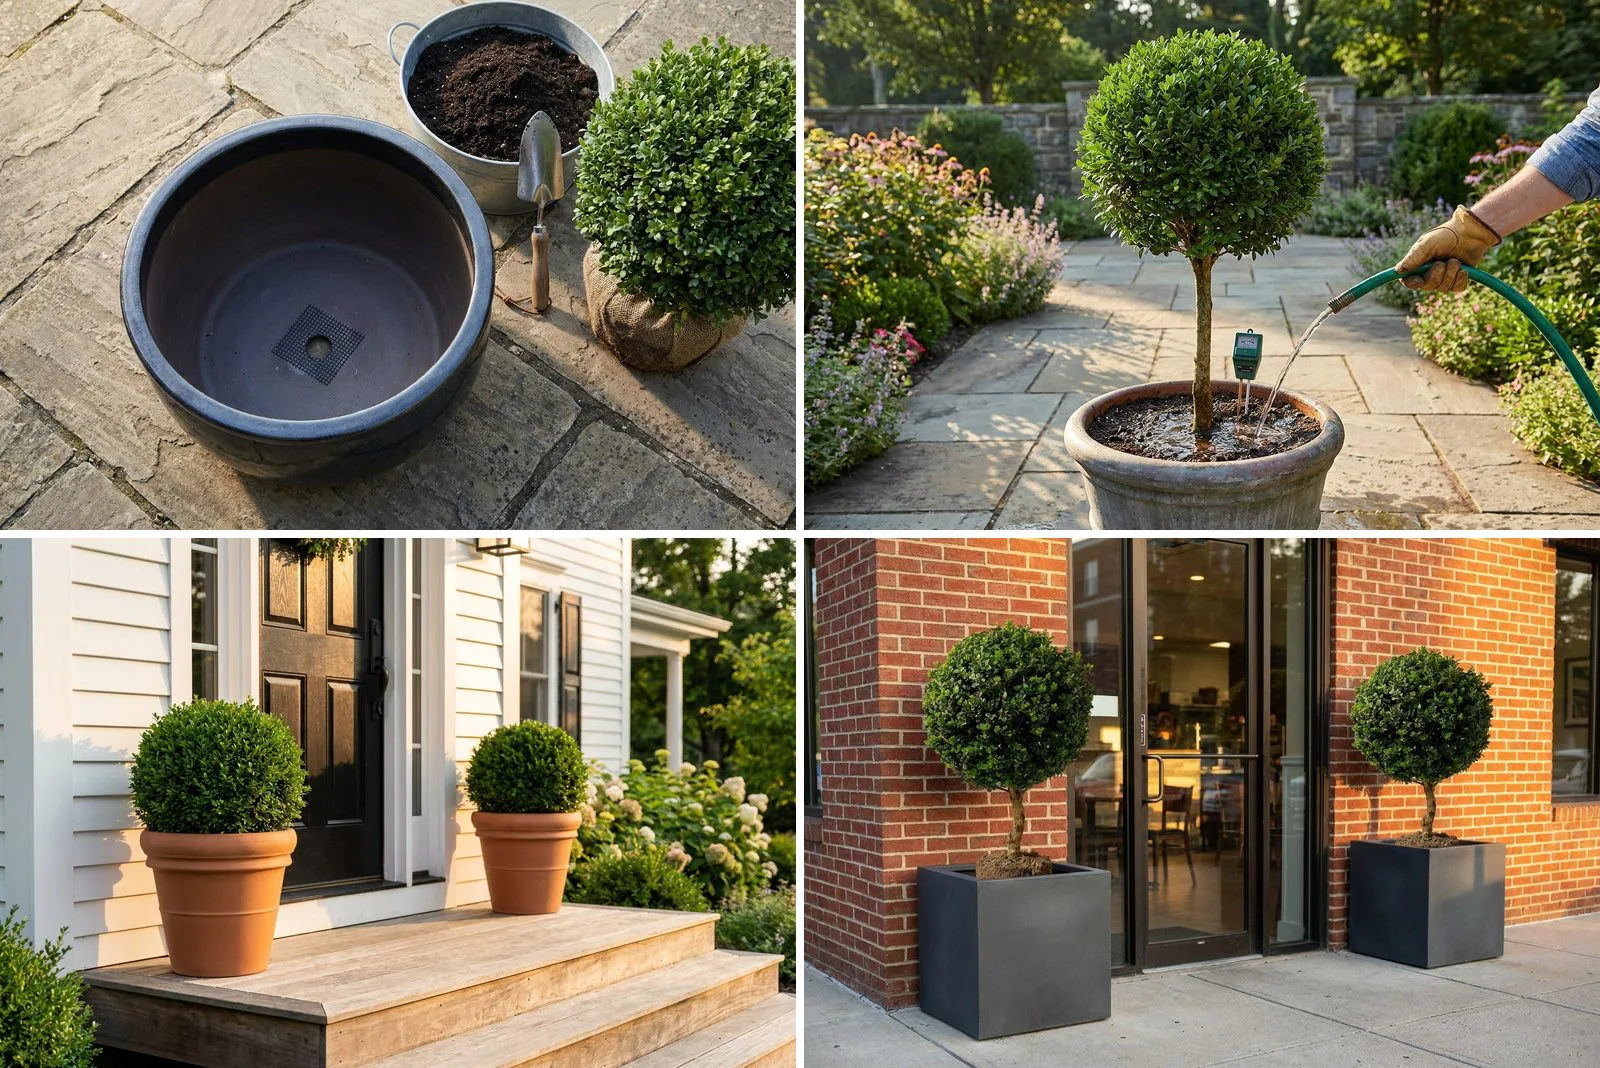
To plant a live topiary in a planter, check the root ball fits through the opening, cover the drainage hole with mesh instead of gravel, and set the top of the root ball level with the potting mix, an inch or two below the rim. Then soak the root ball itself until water runs out of the bottom.
The first two weeks after planting decide how the next decade goes, and most mistakes happen with the depth, the drainage and the first watering.
Before you start
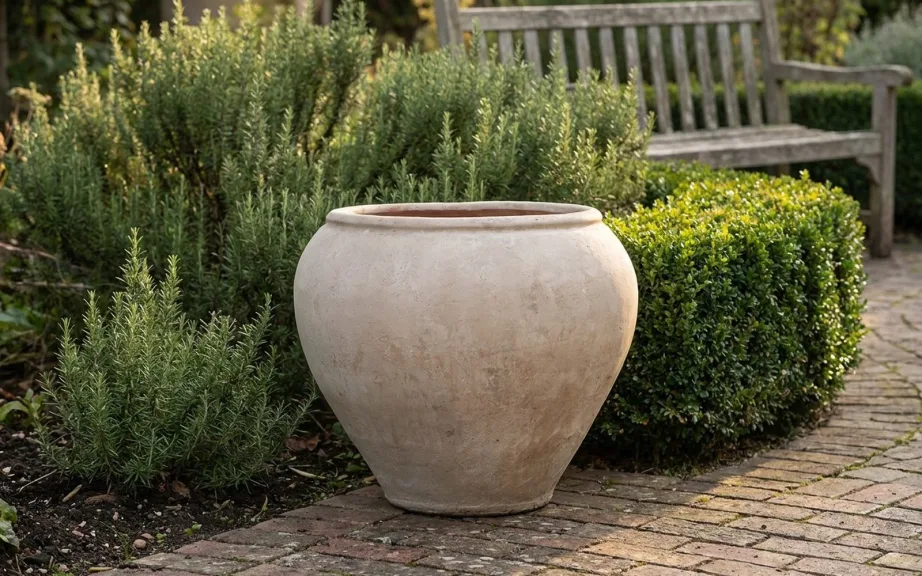
Check the piece fits. The root ball has to pass through the opening with about two inches of room all around, so a 24 inch ball needs an opening of 28 inches or more. The listed width of a planter is usually the widest part of the body, not the opening. Sizing a planter to a topiary covers the measurements.
Then put the empty planter exactly where it will live. A large planter full of wet mix with a mature plant in it can weigh several hundred pounds, and you will not move it afterward.
This method is for a living plant. An artificial piece has no soil at all, and that job is covered in planting artificial topiary in pots.
1. Drainage, and the layer that does not work
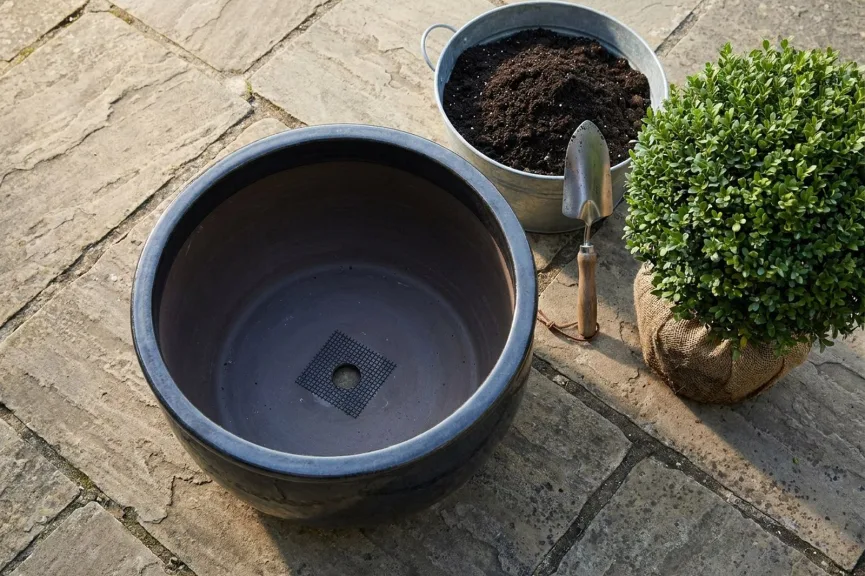
Make sure the planter drains. If it has no hole, drill one or plant into a plastic liner that lifts out. Never plant straight into a sealed container.
Do not put a layer of gravel or broken pot in the bottom “for drainage”. It is the most common piece of gardening folklore, and it does the opposite of what people expect. Water does not pass easily from fine soil into coarse gravel, so it sits in the soil above the gravel, and the wet zone ends up higher in the pot.
Cover the hole with a piece of mesh so the mix does not wash out, and fill the rest with mix.
2. The mix
Garden soil compacts in a pot and stops draining, so use a good outdoor container mix, the heavier kind sold for shrubs and trees. Light, cheap mixes break down and slump within a season. Mixing in about a third of pine bark fines or coarse grit keeps it open.
Boxwood wants a mix that holds moisture and still drains freely. It is worth buying the better mix for a plant that will stay in the pot for a decade.
3. Setting the depth
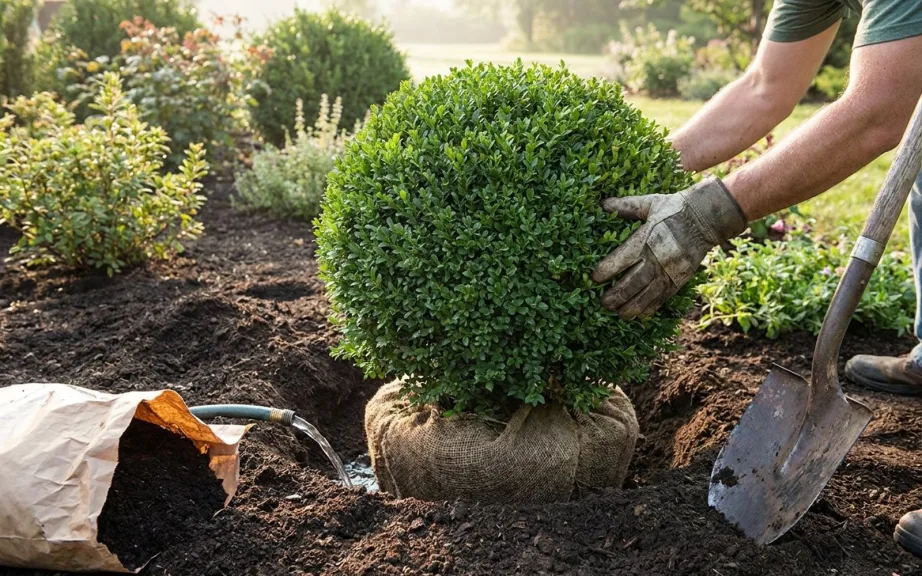
This is where most container plantings go wrong, and the rule is short: the top of the root ball finishes level with the surface of the mix, and no soil ever goes over the trunk.
Part-fill the planter and set the root ball in dry. Check the level before you go on. The top of the ball should sit an inch or two below the rim, so there is a lip to water into. If it sits too low, lift it out and add mix underneath. Fixing it after backfilling is much harder.
If the root ball is wrapped in burlap and firm, remove the burlap once the ball is in position, so new roots grow out faster. If the ball is loose, leave the wrapping on and cut only the ties at the top, because holding the ball together matters more.
4. Backfilling and firming
Fill around the ball in layers, firming each with your fingers rather than your feet. Air pockets against the side of the root ball dry out and kill the roots at the edge.
Keep the trunk clear. Mix or mulch piled against the stem holds moisture there and rots it.
5. Staking, if the piece is top-heavy
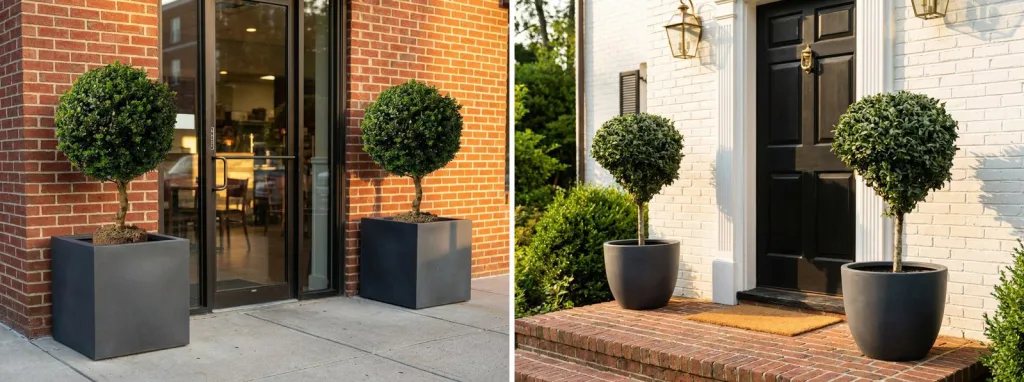
A standard on a clear stem, a tall spiral or anything with a heavy head needs support for its first season. A single stake beside the stem, tied in a figure eight so the tie does not rub, is enough. Remove it once the plant is anchored, usually at the end of the first full growing season.
In a windy spot, add weight to the base of the planter instead of using a taller stake. A few inches of coarse gravel at the very bottom, beneath the root zone and under the mesh, adds ballast without creating the wet-layer problem above.
6. The first watering, and the two weeks after
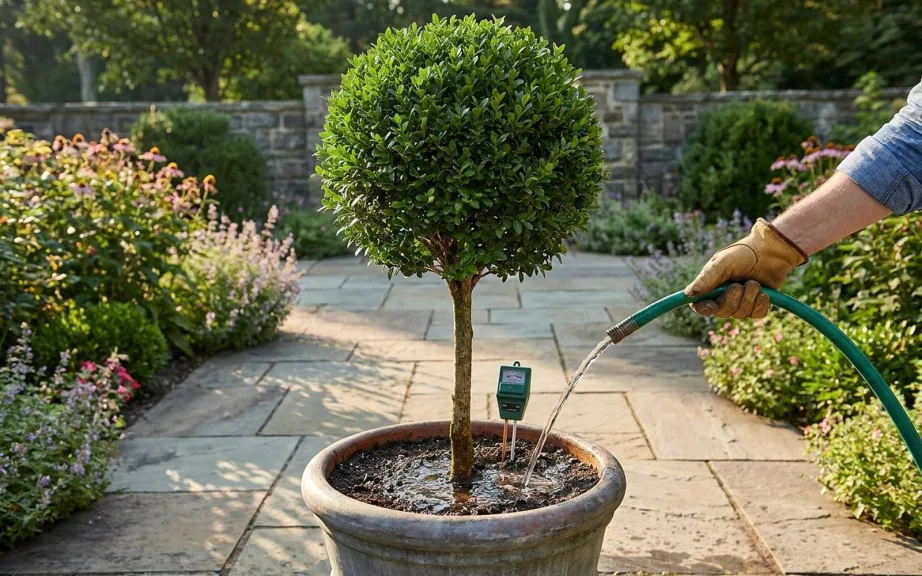
Water the root ball itself, slowly and heavily, until water runs from the drainage hole. The ball itself needs soaking, as well as the new mix around it. A quick pass with a hose wets the surface and leaves the center dry.
For the first two weeks, check the ball with a finger every couple of days instead of watering on a schedule. Boxwood roots are fine and take time to grow out of the ball they arrived on. Until they do, the plant drinks from a much smaller volume of soil than the pot holds.
This is why most newly potted boxwood struggles, and it looks exactly like disease.
Wait about six weeks before feeding. A fresh mix has enough in it, and soft growth before the roots have spread does the plant no good. After that, the routine is in boxwood in a planter.
How our plants arrive
Live pieces up to about 45 inches ship by parcel in a box built around the plant. Larger ones go by freight on a pallet, standing upright and braced, and the carrier calls to arrange a delivery window. What to check before you sign is on delivery and receiving.
Unpack a live plant the day it arrives, water it deeply, and plant it as soon as the spot is ready. The plants are on live boxwood topiary, and the planters on the planters pages.
Quick answers
Should I put gravel in the bottom of a planter?
No. A gravel layer makes water sit higher in the soil. Cover the drainage hole with mesh and fill the pot with mix.
How deep should I plant a topiary in a pot?
With the top of the root ball level with the mix and an inch or two below the rim. Never bury the trunk.
Do I remove the burlap before planting?
Remove it from a firm root ball once it is in position. Leave it on a loose ball and just cut the ties at the top.
When should I feed a newly potted topiary?
After about six weeks. Then feed lightly through the growing season, as boxwood in a planter explains.