















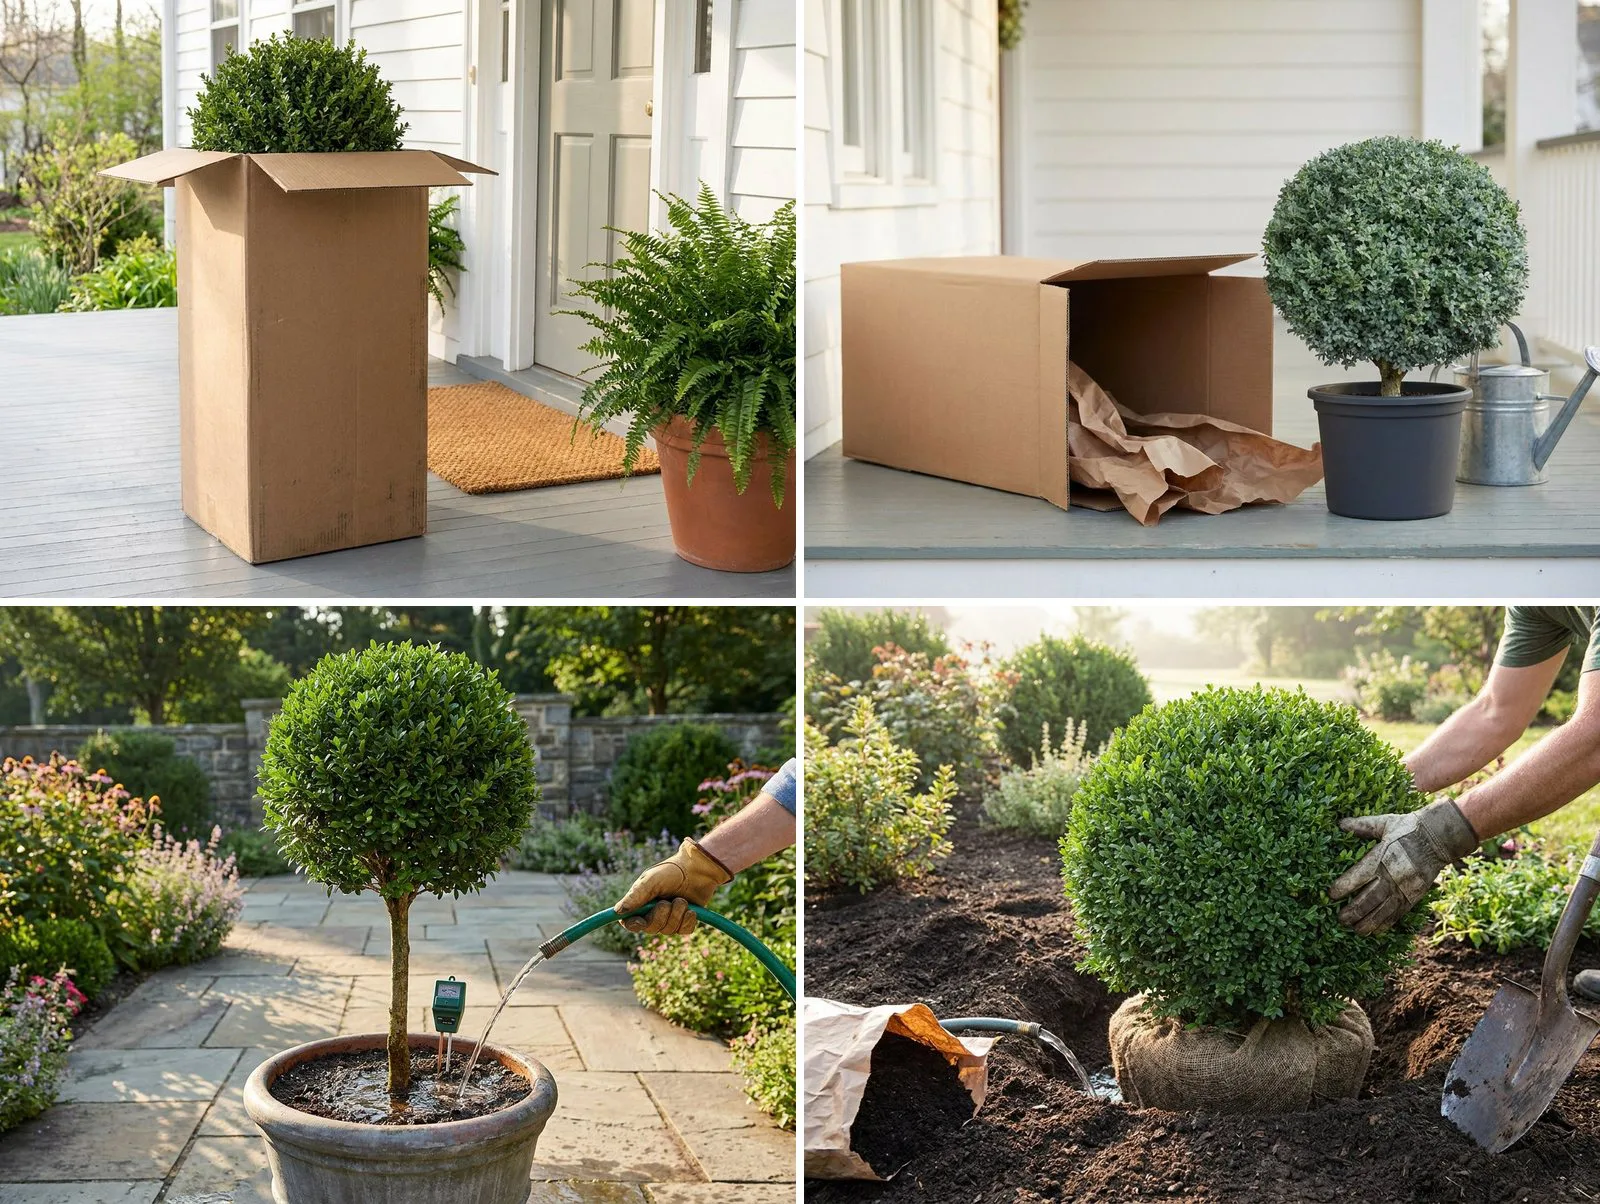
When your live boxwood topiary arrives, open the box the same day, stand the plant upright in shade and give it a slow, deep watering. Then plant it in the ground or in a pot with drainage holes within a week or two. After that, live boxwood needs deep watering in dry spells, a trim in early June and a feed in March and October.
This page covers the first month in order, then answers the questions we hear most about living with a boxwood topiary.
The day it arrives
Live boxwood is heavy, so plan where it will go before the truck comes.
A 24 to 27 inch boxwood ball weighs about 65 pounds and travels by UPS Ground. The large pieces, such as the 64 to 68 inch cones, weigh roughly 125 to 150 pounds and come by LTL freight truck. Clear a path and have help ready for those.
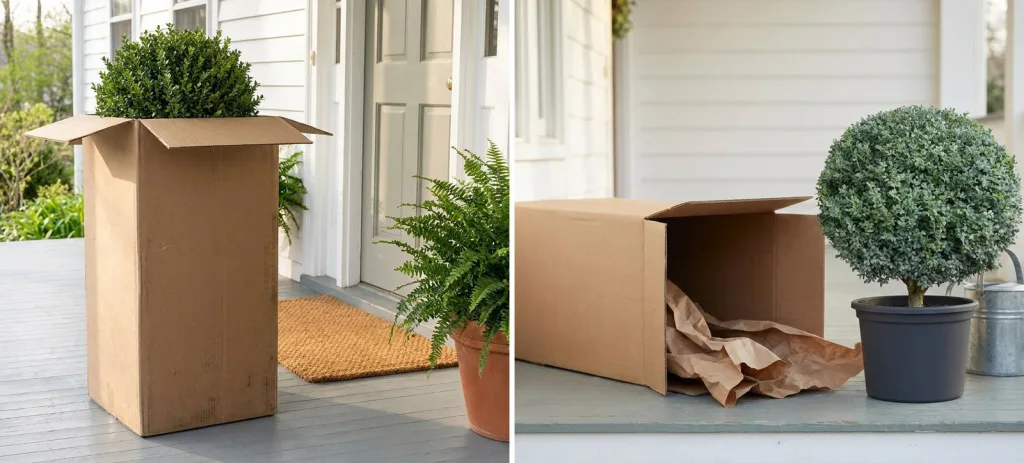
Open the box as soon as it arrives. Cut the tape and fold the sides down rather than lifting the plant out by its trunk or its foliage. Lift from under the pot or the root ball, with a second person for anything over about 3 feet tall.
Stand the plant upright in bright shade and water it slowly until water runs out of the bottom of the pot. A few days in the box can leave the root ball dry, and dry roots are the main cause of trouble in the first weeks.
Read the care notes that come with the order, then give the plant a day or two to settle before you plant it.
Height on our listings is measured from the soil line to the top of the plant, so the pot adds to what you see. Boxwood grows slowly, about 2 to 3 inches a year, which is why a shaped plant of this size has taken years to reach you.
Water first, then plant within two weeks
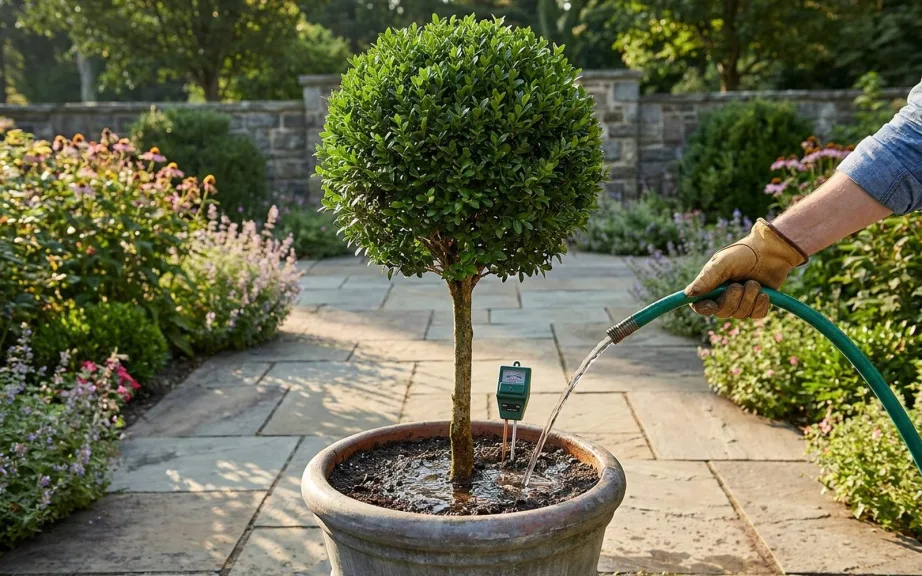
The nursery pot or burlap ball your plant arrives in is only for the trip. Plant it out within a week or two. The sooner the roots reach fresh soil, the faster the plant settles.
Until it is planted, check the soil every day. Push a finger an inch into the pot. If it feels dry, water slowly at the base until water drains out. If it is still damp, wait. A plant sitting in a nursery pot on a sunny driveway can dry out in one hot afternoon.
Planting in the ground
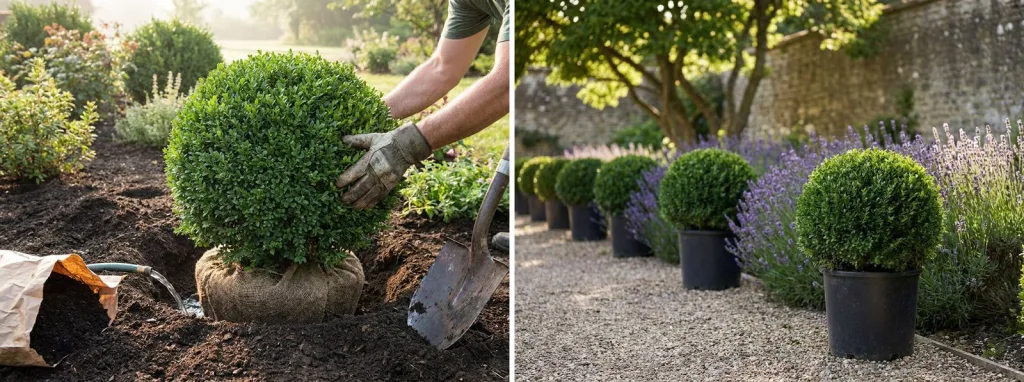
Choose a spot with sun for at least part of the day and soil that drains. In hot areas, morning sun and afternoon shade suit boxwood best. Avoid low spots where rain water pools, and keep it away from a downspout.
Dig the hole twice as wide as the root ball and no deeper. Set the top of the root ball level with the ground, or an inch higher in heavy clay.
Remove the burlap if the root ball is firm. Fill the hole with the soil you took out, water it in well and spread one inch of mulch in a ring, kept clear of the stems.
New plants need deep water once or twice a week for their whole first growing season. The full planting and watering routine for your climate is in the boxwood care guide by USDA zone.
Planting in a pot
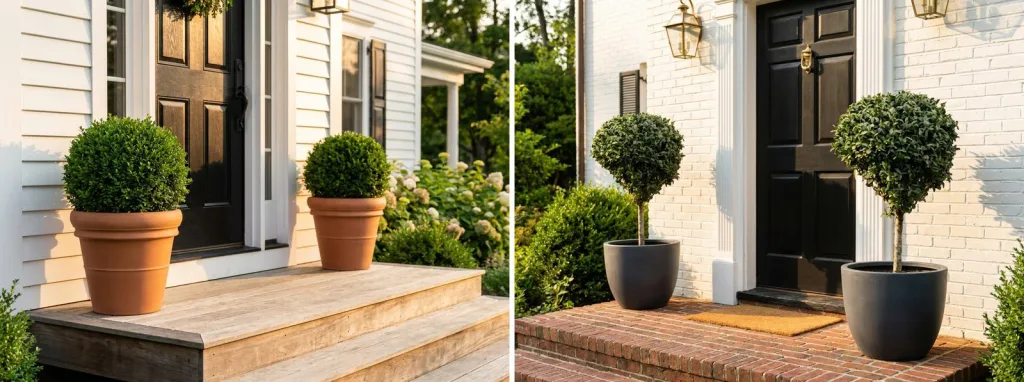
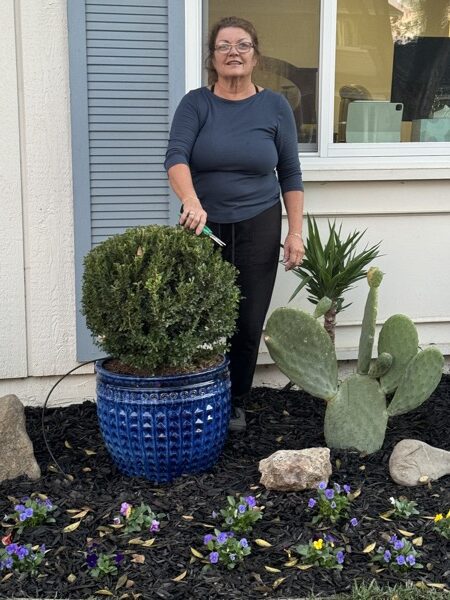
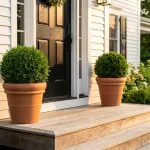
Choose a pot that leaves 3 to 4 inches of room around the root ball on every side and has several drainage holes. Do not set the plant inside a decorative pot with no holes. Water collects in the bottom and the roots rot.
Use a good potting mix, not garden soil, and set the plant at the same depth it grew in the nursery pot.
In summer, a pot dries out much faster than the ground, so check it every day or two. With drainage, regular feeding and a root trim every few years, a boxwood can live in a large container for decades. Pot sizes and the full routine are in boxwood in a planter.
Winter in a pot
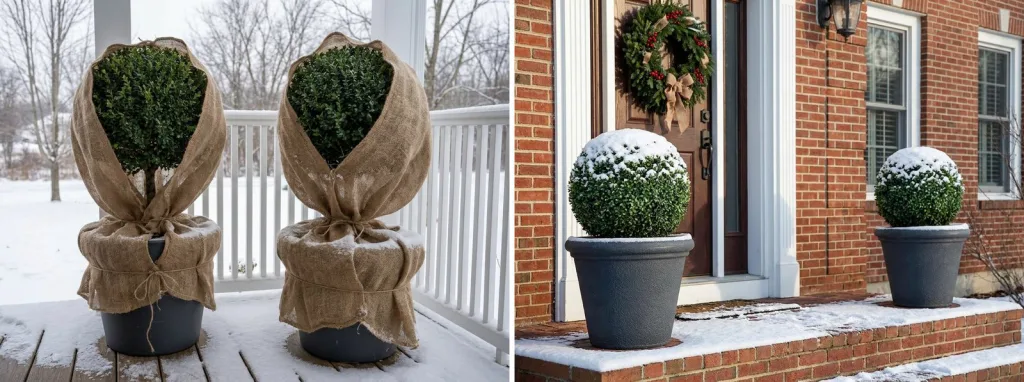
Roots in a pot feel about one zone colder than roots in the ground, because the cold reaches them from every side. If you live at the cold edge of your plant’s zone, wrap the pot and the plant loosely in burlap for winter, or move it into an unheated garage or a sheltered porch during the hardest freezes.
Keep watering until the soil freezes. A boxwood that goes into winter dry often comes out of it brown.
Trimming and feeding
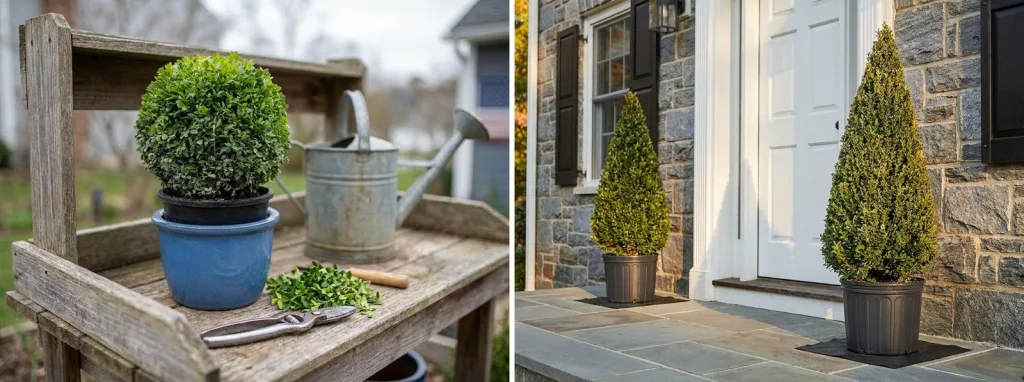
Make the main trim in early June, once the spring growth has firmed up. A second light tidy in late summer keeps the outline sharp; finish it by early September.
Small, frequent trims hold a crisp line better than one hard cut. Use sharp, clean shears, because dull blades tear the leaves and brown the cut edges.
Feed with a balanced granular fertilizer, 10-10-10 or 14-14-14, in early March and again in October, and water it in. Do not feed in late summer, because soft new growth will not harden before frost. Plants in pots do better with a light liquid feed every few weeks from spring to midsummer.
Troubleshooting in the first months
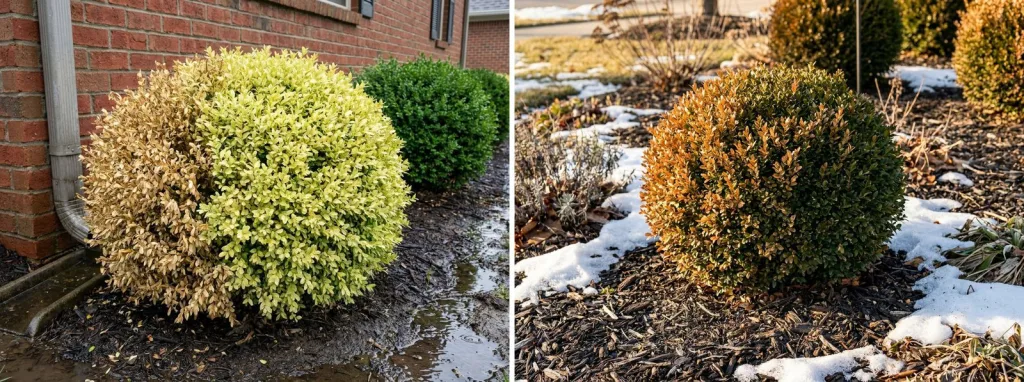
| What you see | Most likely cause |
|---|---|
| Brown, dry leaves after arrival | A dry root ball. Water deeply and check daily. |
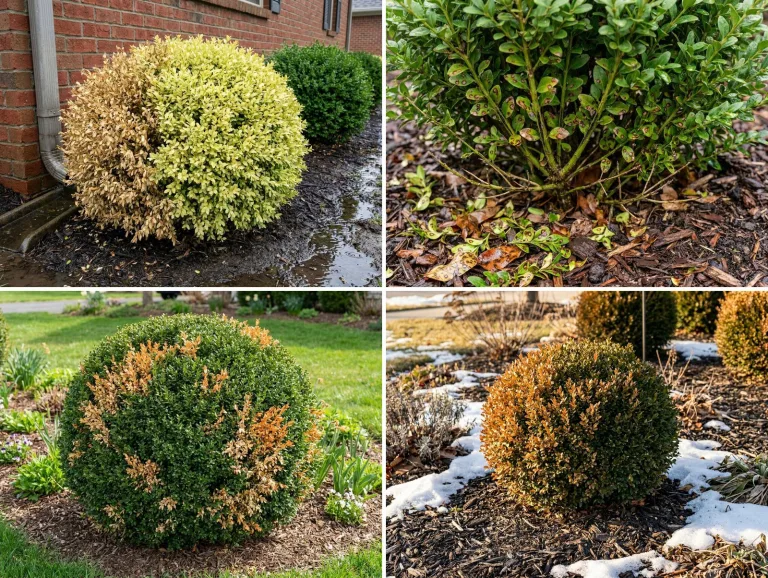
| Pale yellow leaves, wet soil | Too much water or poor drainage. |
| Orange or bronze leaves in winter | Winter bronzing from cold sun and wind. |
| Cupped leaves at the tips in spring | Boxwood psyllid. |
| Fine pale speckles on the leaves | Spider mites. |
| Blisters on the undersides | Boxwood leafminer. |
| Dark leaf spots, black stem streaks | Possibly boxwood blight. Check before you treat. |
Most problems in the first months come from water. Check the soil and the drainage before you reach for a spray. Some leaf drop after a move is normal, and new growth usually covers it by summer.
Pests and diseases each have their own signs and fixes. Photos and step-by-step treatment are in our guide to boxwood diseases and pests.
Quick answers
How do I start a topiary?
The quickest way is to buy a plant that has already been shaped and keep it trimmed. Starting from scratch, choose a young, bushy boxwood, set a wire frame or a simple ball shape over it, and clip the new growth to the outline twice a year. It takes several years to fill in. Our guide to making a ball topiary on a stem walks through it.
Can I keep it in the pot it came in?
Only for a week or two. The nursery pot is too small for the roots to keep growing, and it dries out fast in sun. Plant it in the ground or move it to a larger pot with drainage holes.
Can a live boxwood topiary live indoors?
Not for long. Boxwood needs a cold winter rest and outdoor light, and it thins and drops leaves inside within a season. For a shape that has to stay indoors, choose preserved topiary, which needs no light or water.
How often should I water a new boxwood?
Deeply, once or twice a week, for the first growing season. Water more often in a heat wave and for plants in pots. Always check the top inch of soil first. If it is still damp, wait a day.
Why are the leaves turning brown after delivery?
Usually the root ball dried out in transit or in the first days after. Water slowly until it drains, then keep the soil evenly moist. Brown leaves will not turn green again, but new growth covers them in spring and summer.
Ready for another? Browse our live boxwood topiary. Questions about an order? Our team replies within hours, usually the same day, through the contact page.