
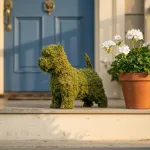
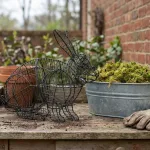
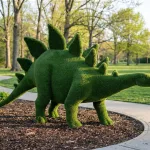
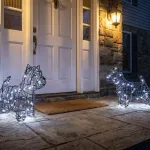
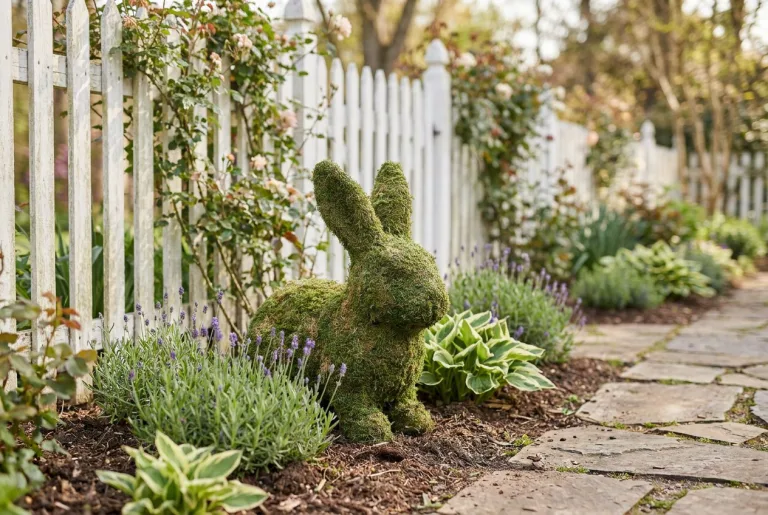
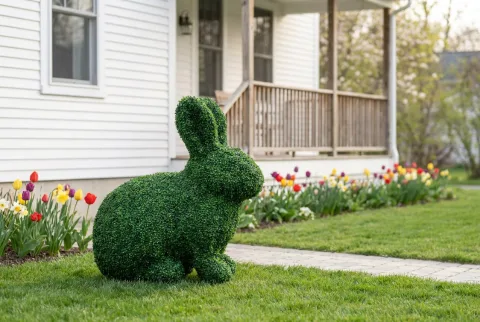
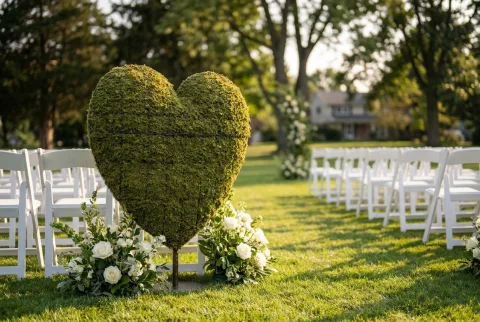
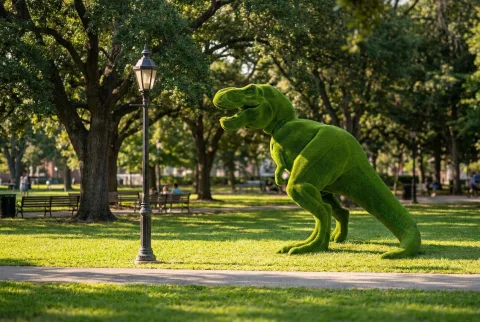
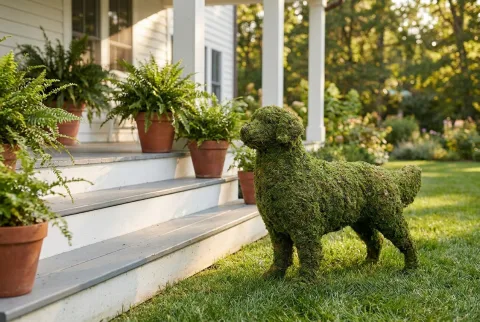
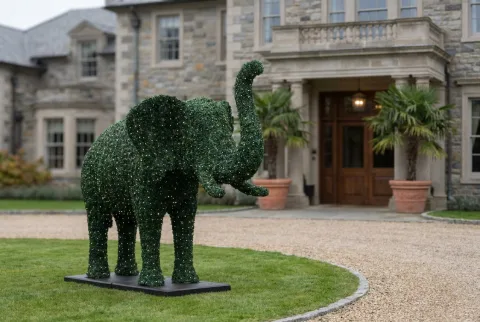
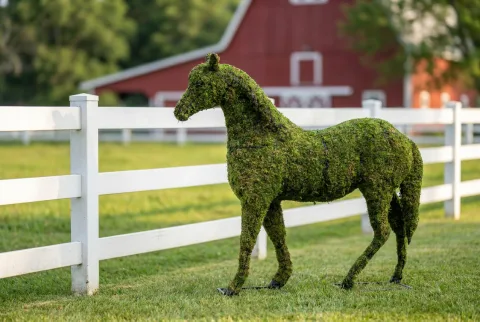
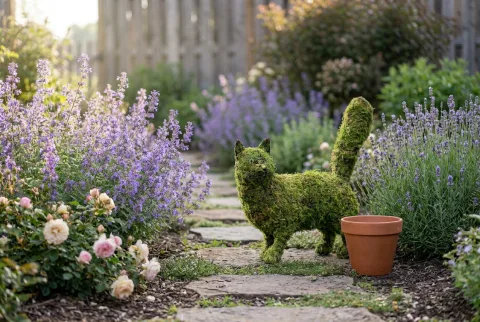
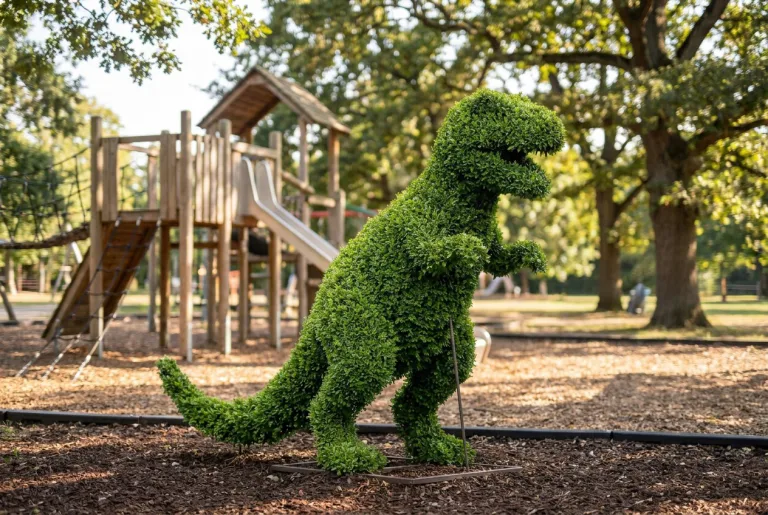
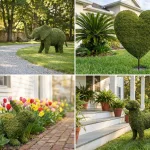
You make a topiary animal from plants in three steps. A steel wire form gives the animal its shape. Sphagnum moss packed inside gives the roots somewhere to live. Then the plants, or the moss alone, become the coat.
We follow the same sequence for every animal we build, from a tabletop rabbit to a life-size elephant, and this guide shows you how to do it yourself.
Start from one of our animals, or build your own
You can start with one of our animal topiaries, or use ours as a guide and make your own. There are three kinds to start from.
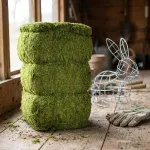
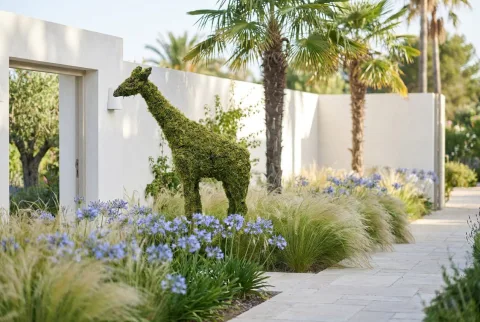
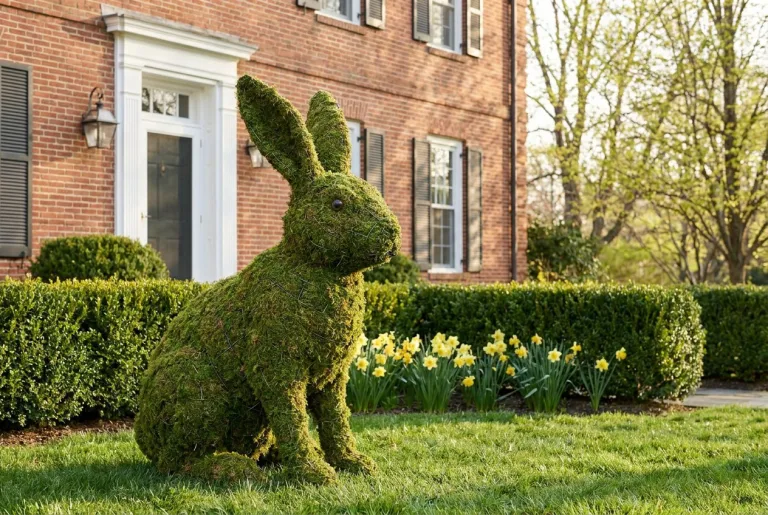
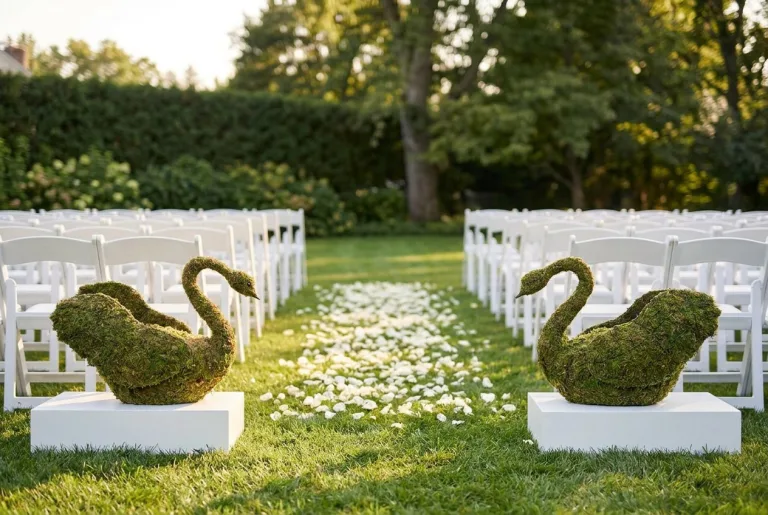
A mossed animal is ready to place in the garden as it is, or you can plant it using the steps below. Each wire form comes filled with sphagnum moss. Sphagnum moss is widely seen as the best growing base for this, because it is even all the way through and holds air and water well.
2) Framed Animal Topiaries or Wired Framed Topiaries
Our frames are hand-woven from steel. The larger ones are welded from ¼–⅜ inch rod, and anything over six feet has internal steel tubing. Frames are galvanized as standard, with powder coating as an optional upgrade, and the finish goes on before any moss does.
Larger forms come in two pieces so you can reach the inside. Add sphagnum moss and the frame becomes the base of your own moss topiary.
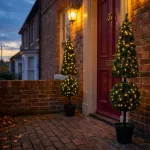
Lighted frames are popular over the holidays. Add plants around them for a garden look.
What you will need before you start
- Work gloves, because chicken wire pokes, cuts and scrapes
- Chicken wire
- Wire cutters
- Floral wire
- Pliers
Choose plants that look like your animal’s coat
Pick an animal that means something to you or to someone you love. Frogs, elephants, cats and rabbits are all popular. Then look for plants whose texture matches its fur, feathers or mane.
Some pairings to start from: a ‘Creeping Jenny’ cat on the windowsill or a ‘Hens & Chicks’ tyrannosaurus in the woods. Or try a ‘Woolly thyme’ poodle on the patio, a ‘Periwinkle’ alligator by the pool, or a ‘Bugleweed’ dachshund guarding the back door.
Remember the details. Whiskers make a kitten, stripes make a bee, and eyes give any animal its personality. Plant color can also make a pattern on the coat.
OVERWINTERING
1) Water well before frost.
2) Mulch it, move it to a protected spot, or both. An unheated garage near a window works; water it there about once a month.
Three ways to plant a topiary form
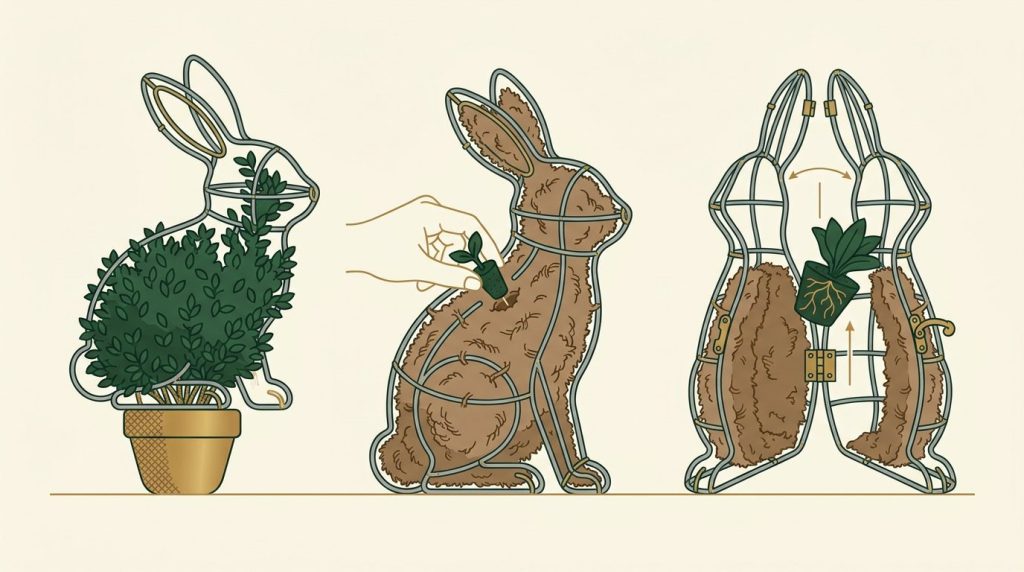
A. PLACE THE FORM OVER A LIVING PLANT:
Let the plant (boxwood, euonymus or ivy) grow into the form, and trim it until it fills the shape.
B. PLANT FROM THE OUTSIDE OF THE FORM:
Soak the moss-filled form in water and let it drain. If your plants are ‘cell pack’ size (3/4”-1 ½” sq.), poke a hole into the damp moss from the outside and push the plant in.
C. PLANT FROM THE INSIDE OF THE FORM:
Soak the moss-filled form in water and let it drain. Snip the plastic ties and open the form into its parts. Pull out some of the moss. Knock a little soil off the root ball and set the plant into the form, then work the leaves up through the wires.
Pack the moss back around the roots. When the planting is done, close the form with the cable ties provided.
After B or C, water with a 10-52-10 starter fertilizer. Keep the form in the shade and out of the wind for several days before you move it to its spot in the garden. Check it for water every day, as you would a hanging basket, and feed it every other week with a 20-20-20.
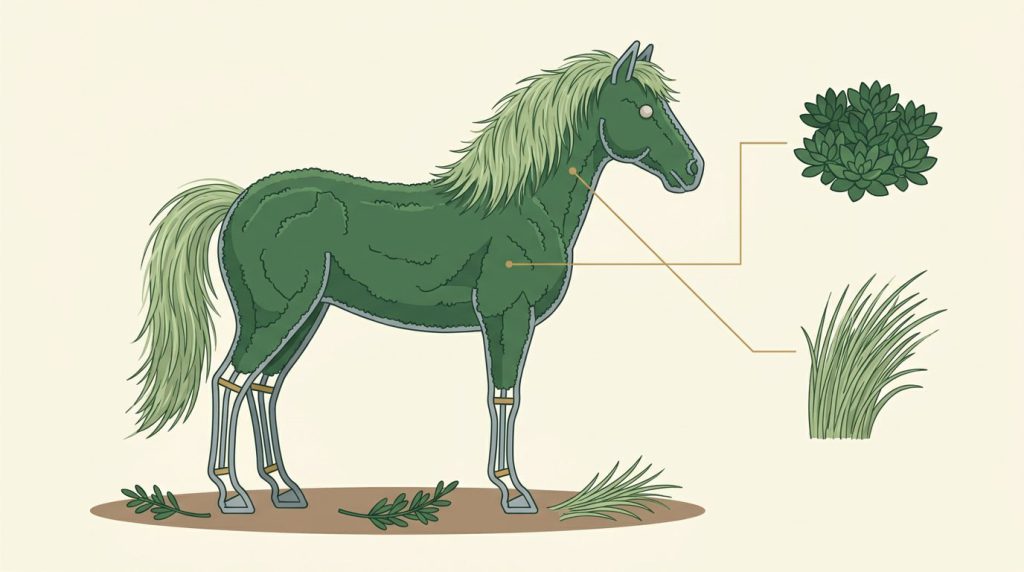
Here is how we plan a topiary, using a horse as the example. We work through five steps:
1) Plant Texture
2) Pattern
3) Color & Scale
4) Culture
5) # of Plants Needed
Whether you picture a Pinto or an Arabian, a horse has a short-haired coat and a long mane and tail. So you need plants for each.
1) Plant Texture
A long, slim plant makes the mane and tail. We usually choose grasses. For the body, any low-growing plant gives a smooth look; we tend to use sedums because they are drought-tolerant.
For a carousel horse, pick something colorful, such as Tri-color sedum. For the eyes, hens and chicks, colored stones or cacti all add personality. Look around your garden or local garden center with the horse in mind.
2) Pattern
Does your horse have a pattern? A painted horse could use a plant that comes in two colors, such as sedum acre in green and gold.
3) Color and Scale
Color can make a pattern, and flowers add an unexpected bonus. For contrast, give the horse a dark mane and tail and a light body, or the reverse. For scale, the smaller the animal, the smaller the leaves should be. The plants should complement the form, not overwhelm it.
4) Culture
Choose plants that like the same conditions. We tend to use drought-tolerant succulents, and low-growing rockery plants that spread fast also make great topiaries.
We usually leave the ears, legs and other small parts as bare moss, because they dry out faster than the body. Moss looks good there anyway. We use plants to highlight the rest of the form, but that part is a personal choice.
5) # of Plants Needed
If you need it to look full right away, say for a garden party, plant every 2 inches. If you want to watch it fill in over the season, plant every 4 to 6 inches.
If you would rather start from a finished piece, the topiary animals we make ship ready to place, from $57, or you can browse the wire frame animal topiary range and build on one of ours.
How an animal topiary is actually made.
Six stages, in this order, whatever the animal is. The illustrations are drawn rather than photographed — a drawing shows what is happening inside the piece, which a photograph of a finished topiary cannot.
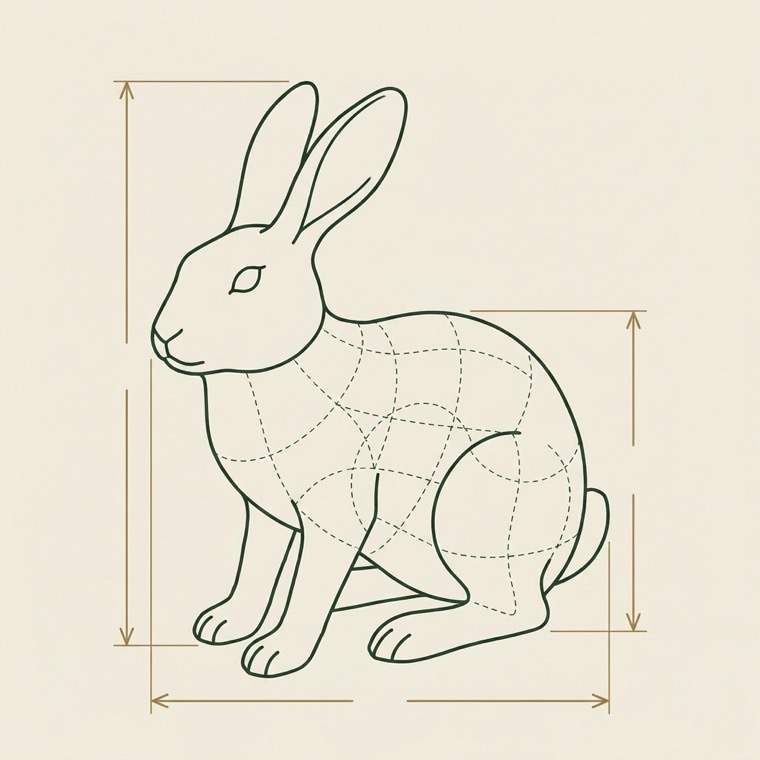 01It starts on paperThe animal is drawn before anything is cut: the set of the head, the weight on the legs, the line of the back. At any size above a tabletop the proportions have to be decided on the drawing, because there is no adjusting a welded figure afterwards. Larger commissions get a dimensioned CAD sheet that the metal is then cut to, piece by piece.
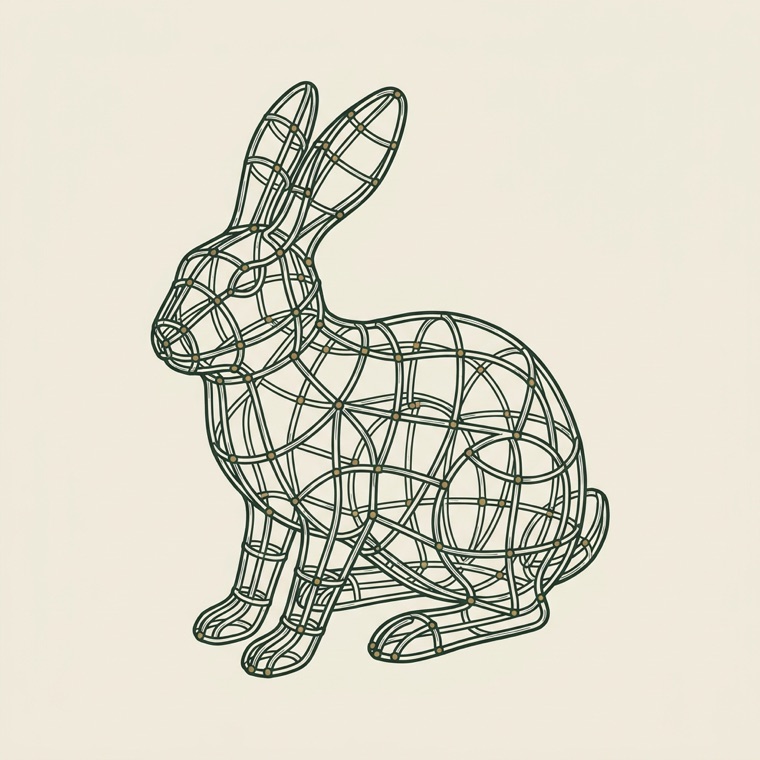 02Steel rod, bent and weldedSteel rod is bent by hand and welded into a cage that carries the pose. This armature is the sculpture; everything after it is surface. Anything over six feet also gets steel tubing run inside the frame, so the piece will not fold if somebody leans or climbs on it: many frames on the market carry no internal support at all.
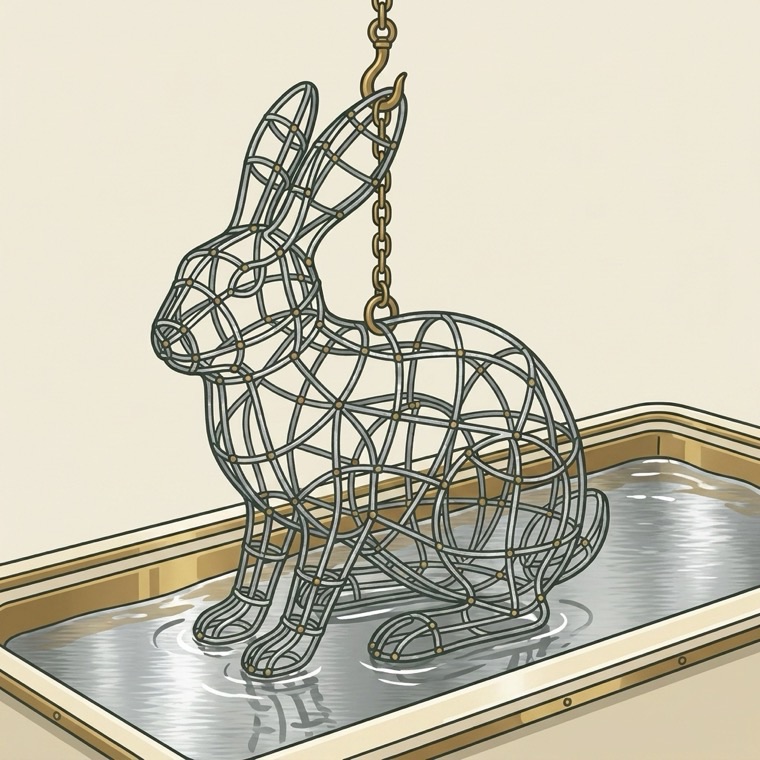 03Galvanized, welds includedThe bare frame is galvanized over every surface, including the welds, which is exactly where outdoor steel fails first. It is the least visible step and the one that decides whether the piece lasts a season or a decade. It is also why a tired topiary can be stripped and re-covered years later instead of thrown away.
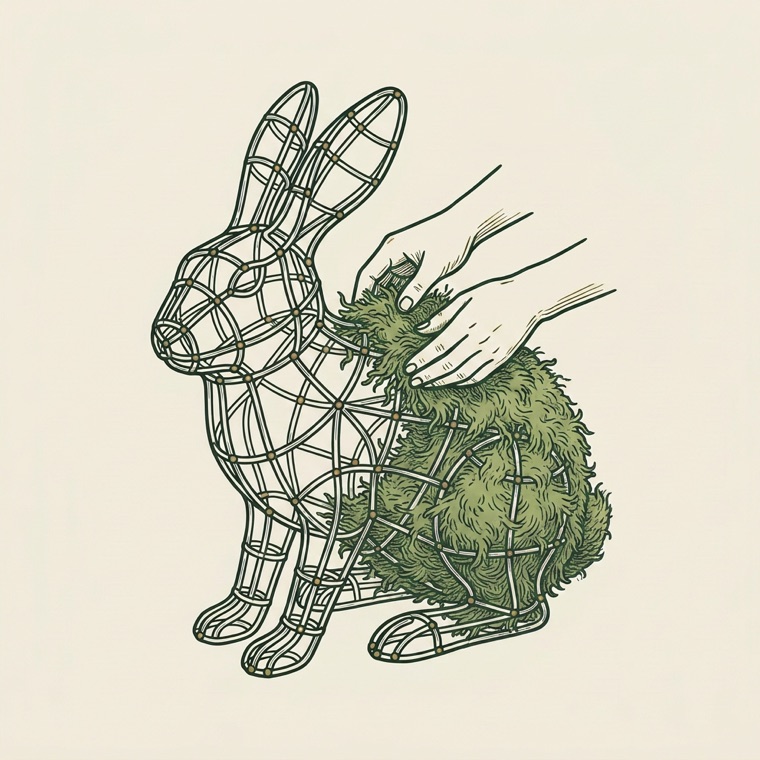 04Sphagnum packed by handLong-fiber sphagnum moss is packed into the cage by hand and bound down. It is slow work and it is what makes a piece green the day it arrives rather than a season later. The moss also holds a root run, so a mossed animal can be planted into afterwards.
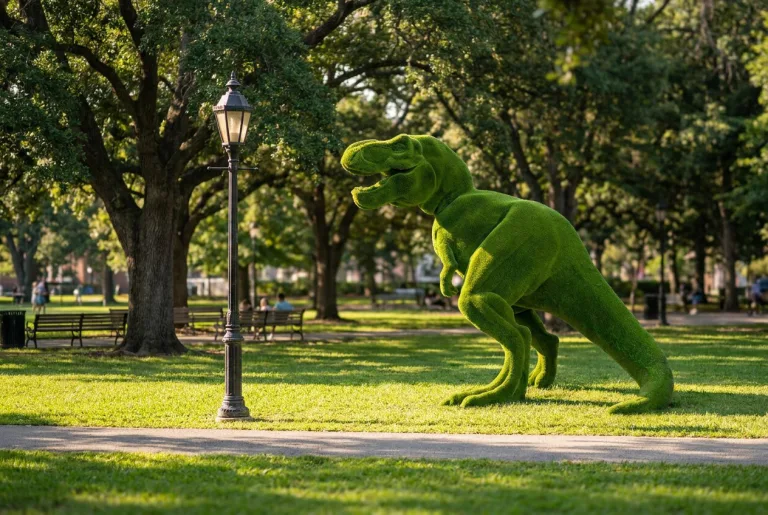
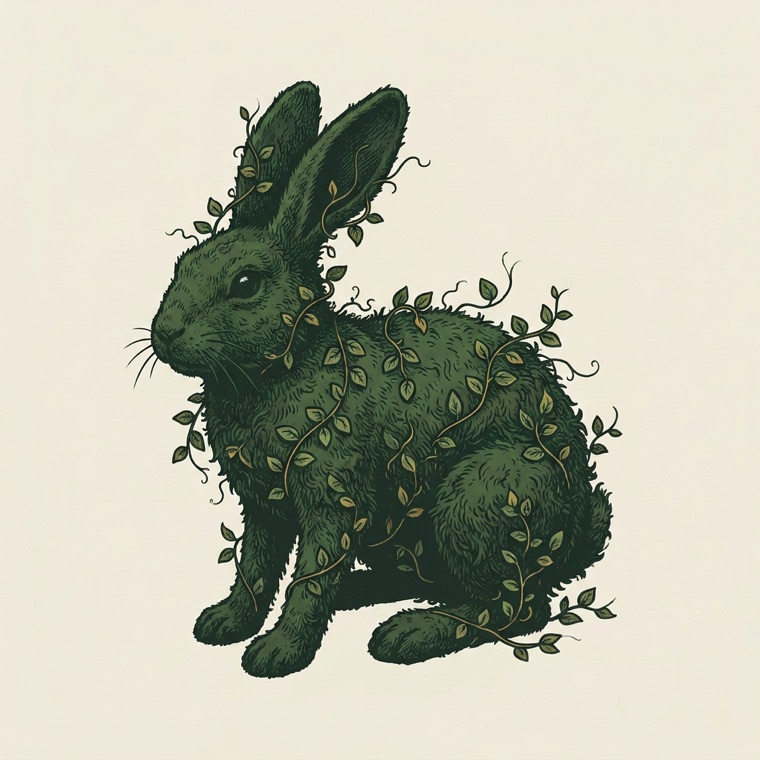 05Planted, or coveredFrom here a piece goes one of three ways: planted with creeping fig, ivy or another small-leaved climber that grows through the moss; covered in UV-rated artificial foliage or turf where nobody will be maintaining it; or left as bare galvanized steel, which is a finished object in its own right and how many customers prefer to buy it.
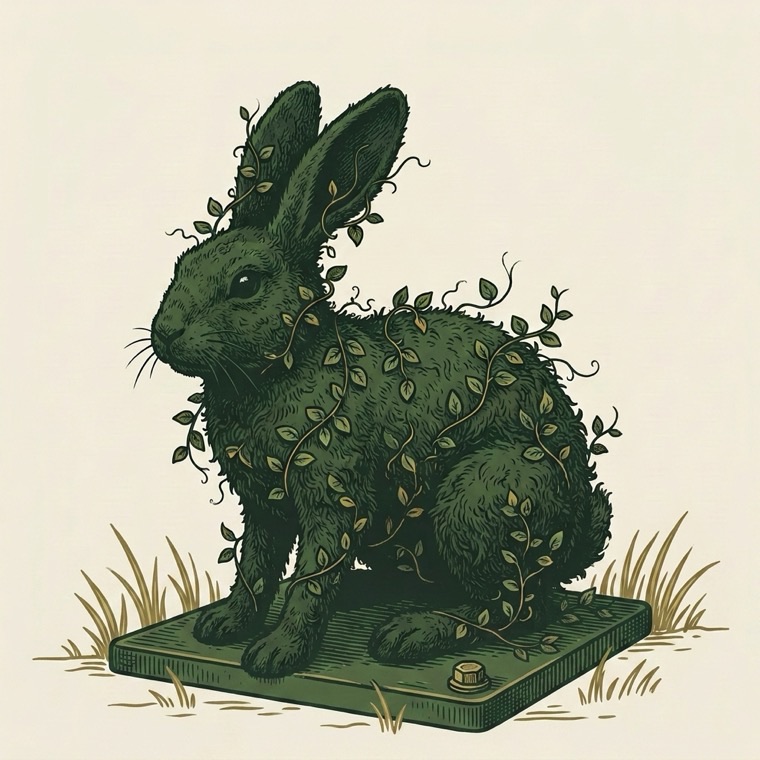 06Based, anchored, deliveredSmall pieces ship by UPS. Anything large travels by freight, built in sections with a marked break point so it can be crated and re-assembled on site, and set on a base pad for bolting or a cement footing rather than a spike in a lawn. Lighting, where it is specified, is built in rather than added over the top.
Bare galvanized armatures are sold on their own in wire frame topiary; finished mossed pieces are in mossed animal topiary. The galvanizing step is written up on its own.